
Week 05 Motion Capture Systems That Don’t Cost $60,000
Lab Documentation
Perception Neuron
This week, our first task is try the perception neuron tracking system and live stream its data into Unreal. The hardware is much more portable than the OptikTrack system but is very breakable and always needs calibration.
We helped Pratik put on the straps, link the wires and put those neuron blocks in. The instruction on the back of each strap can easily guide you where to put them on.


We connected the hub to the computer. Then we need to connect to a strong wifi to set it up, unplug the cable from data port and use a portable battery as its power.


The avatar showed up but looked very funny with several disconnected body parts. We tried to replace those neuron blocks who were showing as grey on screen.


The system requires actor to do four poses to calibrate it including a seated steady pose, an A pose, a T pose, and a bent S pose.


After calibration, the avatar looked much better and we can start doing live streaming.

We downloaded the plugin and example mesh from perception neuron website and screen recorded how to stream the data from Axis Neuron software to Unreal 4.20. The good thing about Axis Neuron is we don’t need to manually retarget every bone if we add a prefix.
During the process, the body got more twisted than beginning, especially when Pratik sat down.
To summarize, this tracking system is fun, but not accurate enough for use for now.
Use a rigid body as camera in OptikTrack
Here is the screen recording of how to use a rigid body as the camera in OptikTrack and stream the data to Unreal 4.19:
This is how it looks like in Unreal. The statue is the actor and we were using a tripod as camera to shoot it.
Unreal Scene (trim&music)
Week 03 - Data Cleaning and Retargeting
Lab Documentation
After calibration and putting the performer in suit, we decided to do a dance take. Terrick did the leading dance and Tian followed him. We did it twice to at least get one good and one best take. We also took a video of their actual dancing as the reference video.
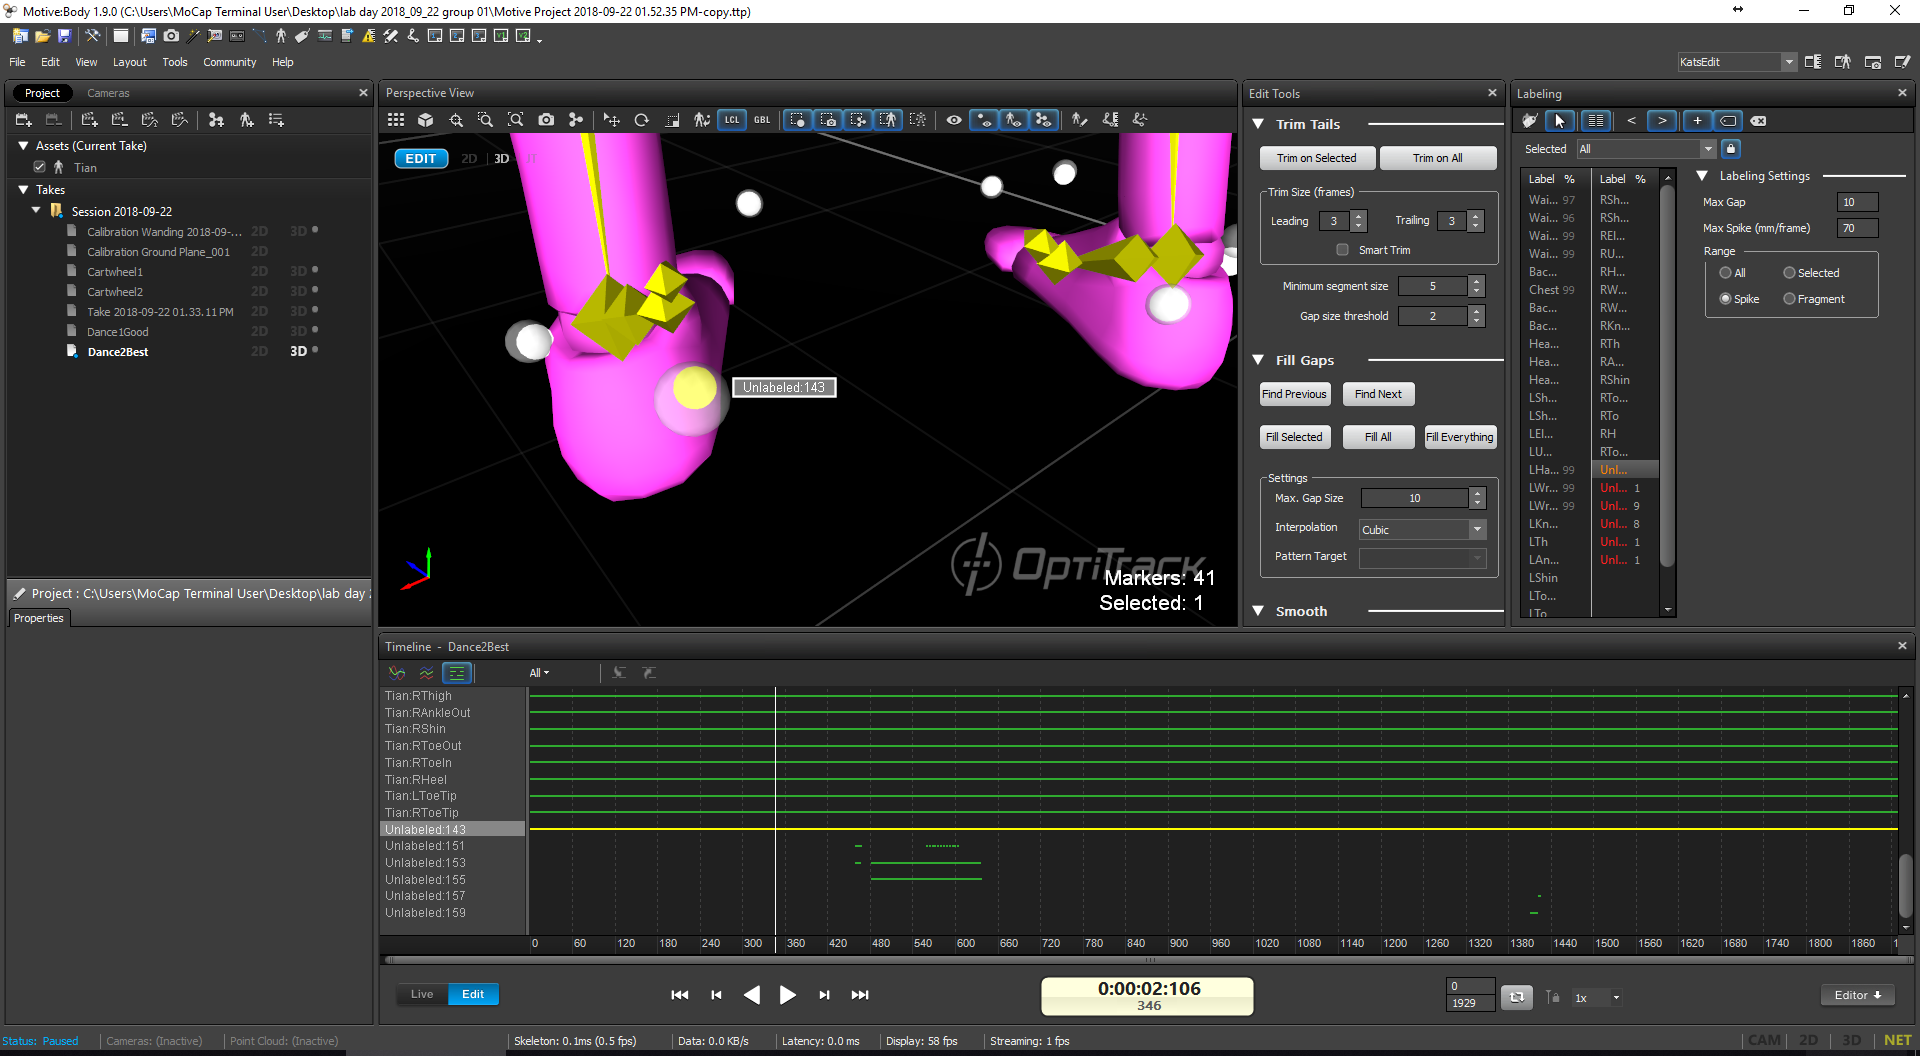
Then we started to do the data cleaning. It was very lucky that we got a very nice and clean take. We only had six unlabeled markers and very few gaps. The first thing we did was to change the color of bones and mesh to have a strong contrast.

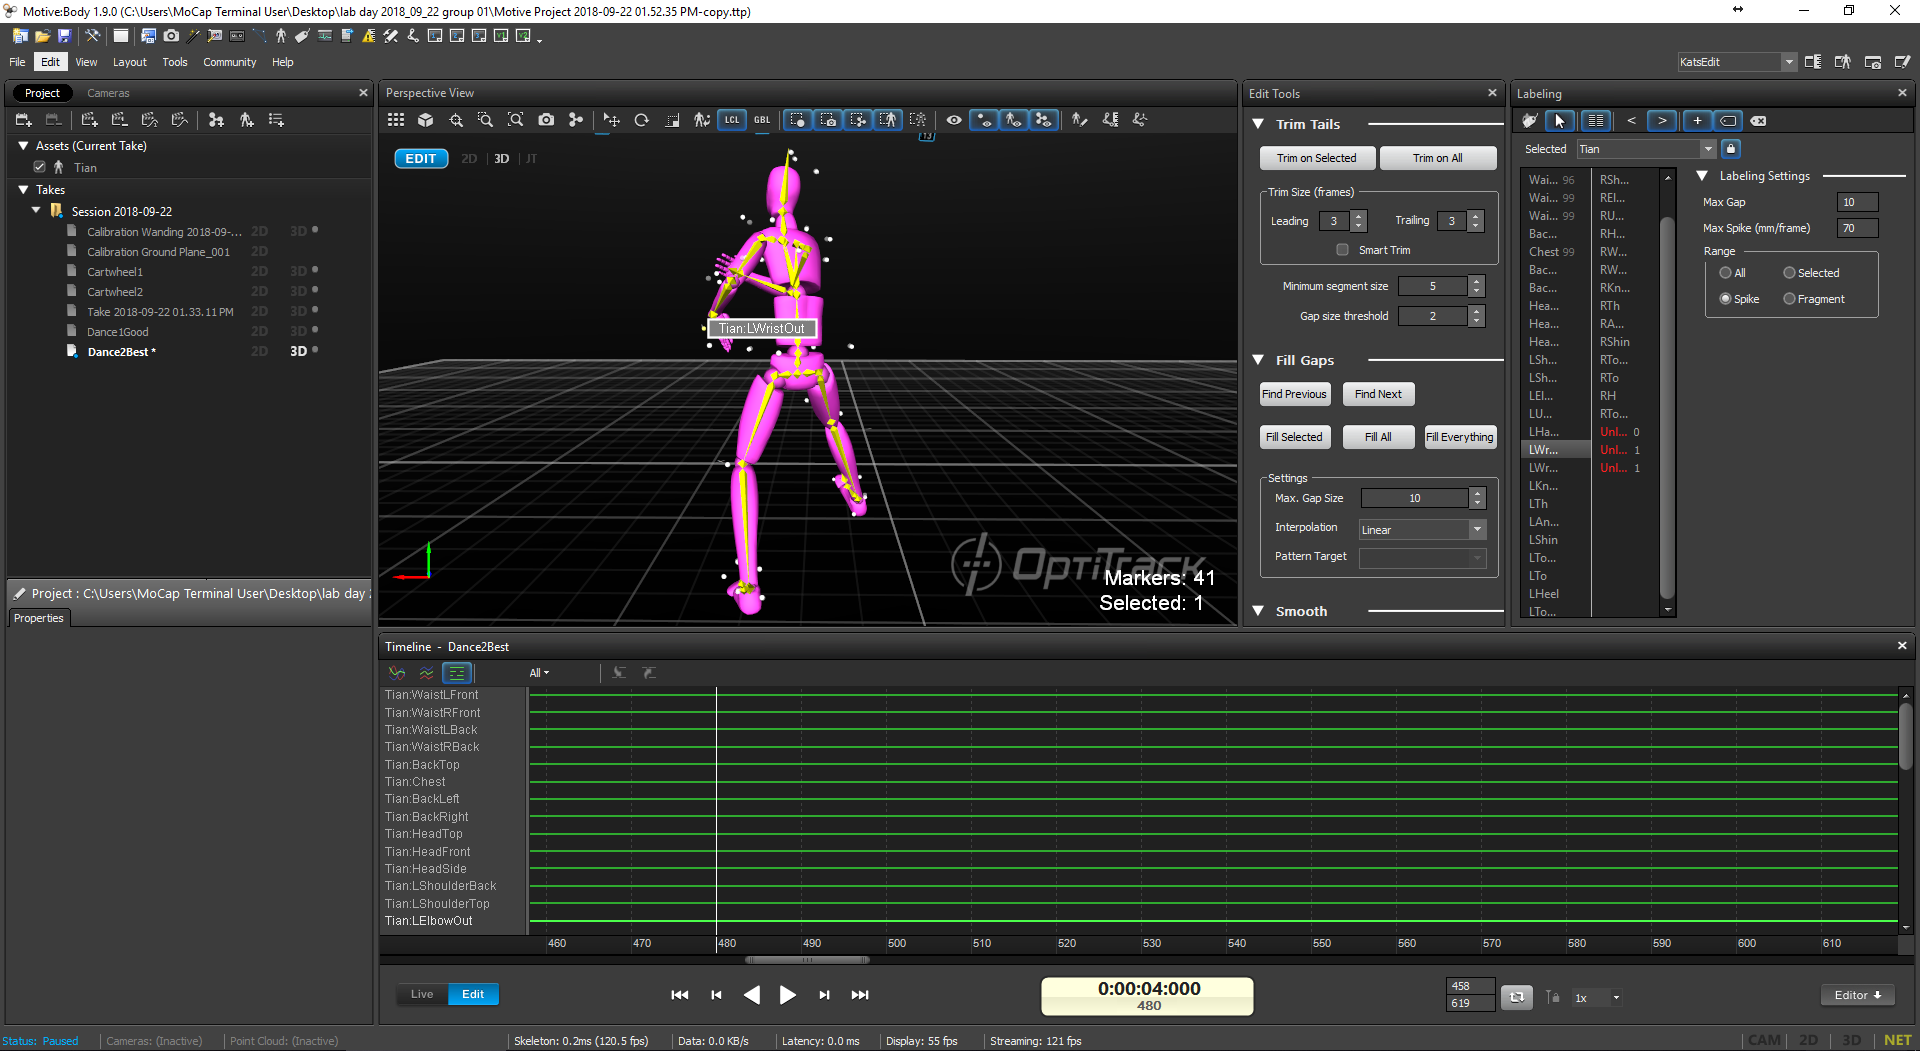
We started with the easiest part, labelling those unlabeled ones. We went frame by frame at the happening points of those unlabelled data to which marker was missing. We had to watch it from many different angels to see it clearly. For some unlabeled data, we couldn’t find it correspond to any markers, so we supposed they were just extra data and removed them.
Next, we tried to fix all the data gaps. We opened the curve view, highlighted the missing part, filled them as liner or cubic and then clicked ‘find next gap’ button and did these again.
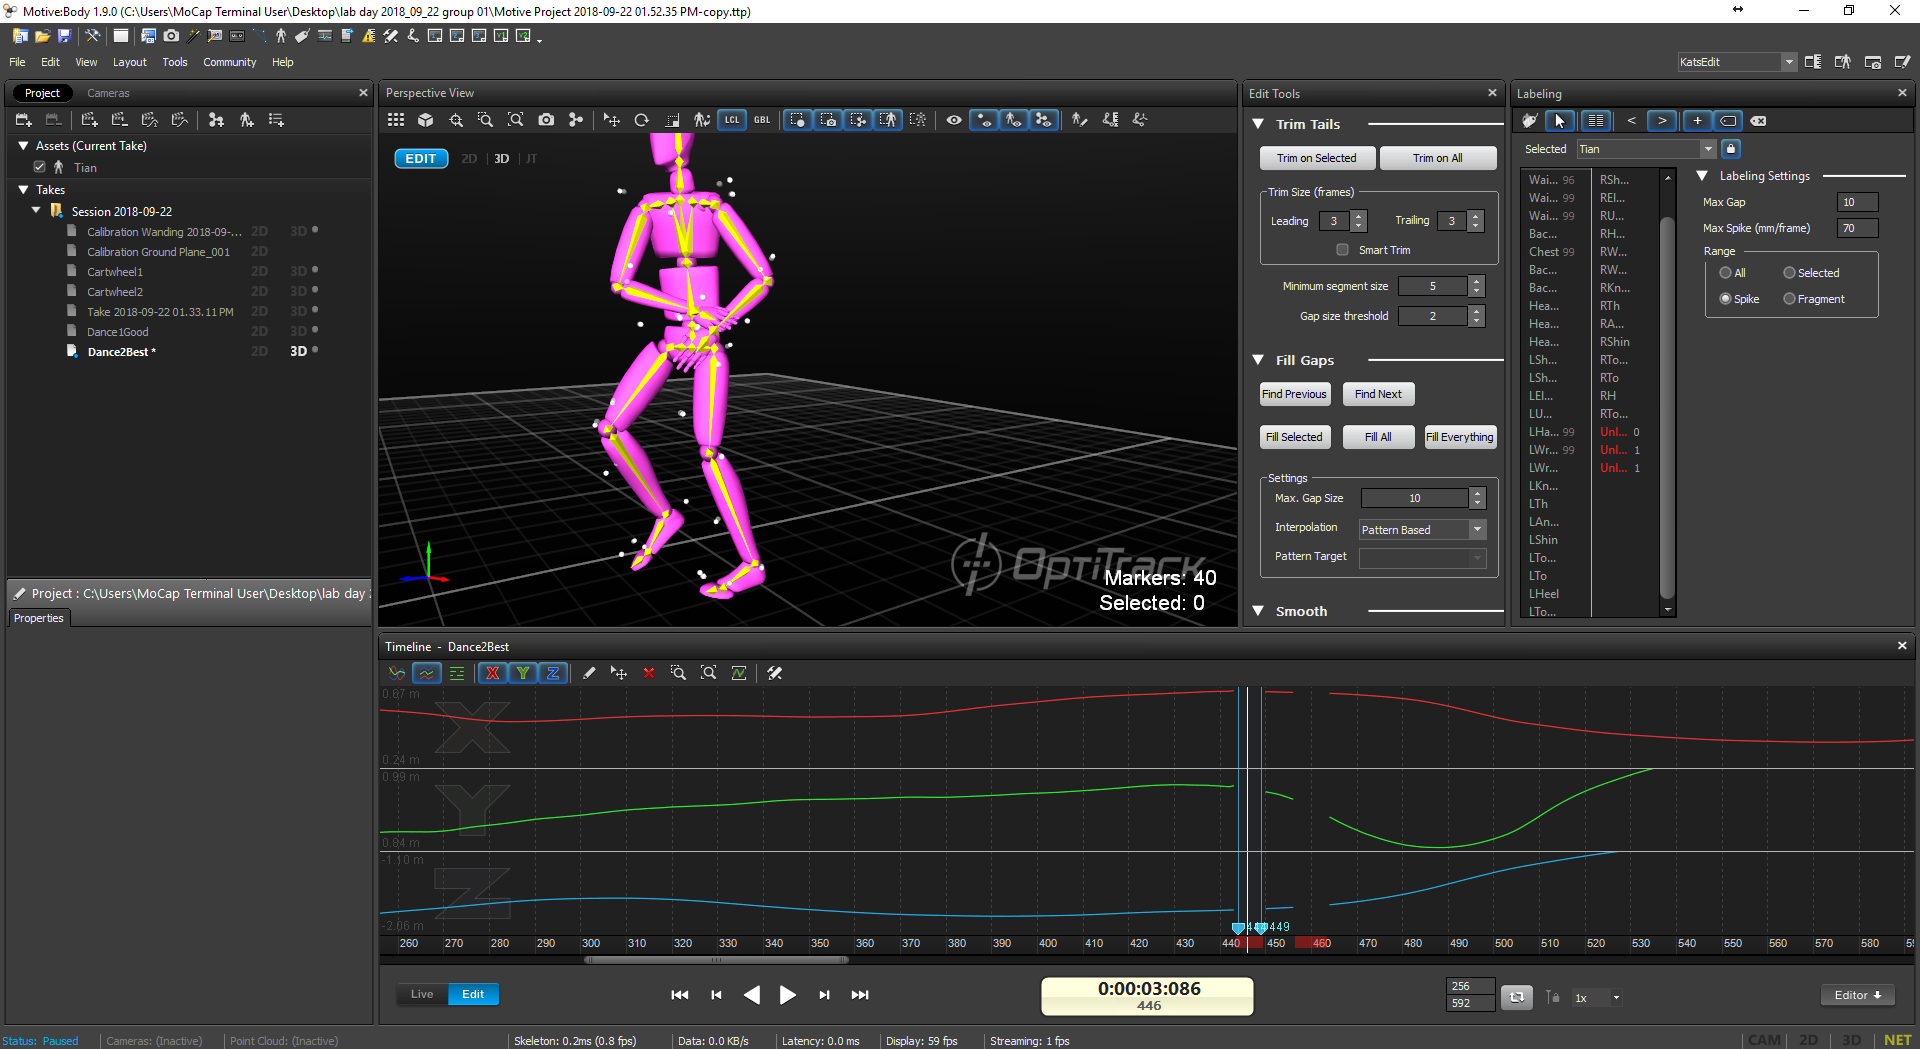
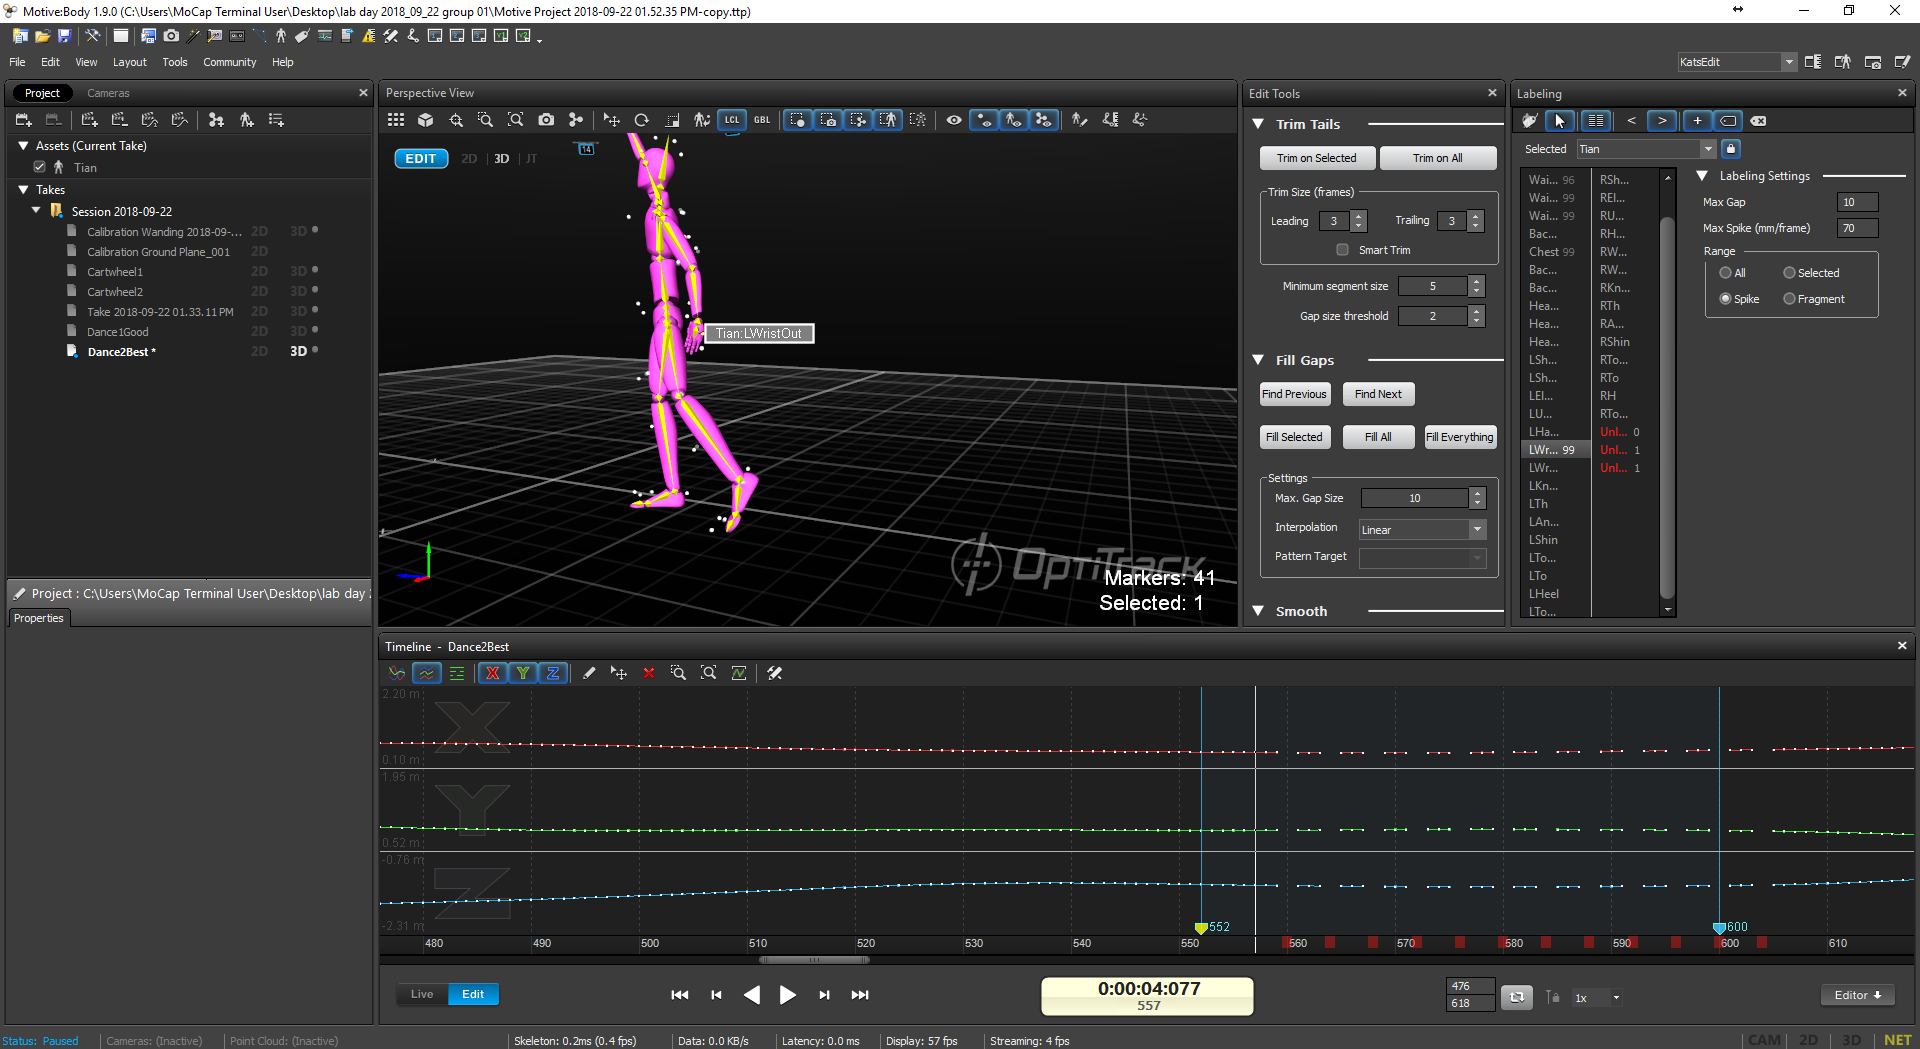
Since we didn’t have too many gaps, we fixed all of them in lab time. The data looks nice to me.
Here is the screen recording of data cleaning: https://drive.google.com/file/d/1hIKzp7DHbB1q69DLA8oAQa1JSE1zQbu3/view?usp=sharing
Retargeting and importing to UE4
For the character, I used the little elf Charlie I made in Oculus Medium for Narrative VR last semester.


I imported it into 3Ds Max first to assign new material to it and adjusted his hands to be a better symmetrical T-pose. Then I imported the file into Maya to rig. The step by step quick rig was not perfect for a baby portion figure like Charlie, so I manually moved those joints to the right place, then generated skeleton and bonded it to the skin.
Next, I sent it to motion builder. In order to get a perfect T-pose, I selected all the branches under Charlie’s hip and zeroed out the rotation. But the problem was after that, his clothes were stretched and broken into several pieces. I tried to make the clothes bigger and redid the process but it didn’t work. I think it might be the problem of Medium?
Anyway, then I characterized the hip, renamed it as Avatar. Next thing to do was to drag in the dancing data and merge it with the current scene. We also need to zero out all the rotation of the skeleton and characterize it. To bond those two skeletons, I selected the avatar, in the setting, I chose it to be driven by the imported dancing data. Click the active box and we got the animation. Plot it and we can save it as a .fbx file.
Finally, we can import the mesh and animation into Unreal. I imported the mesh, skeleton and materials first. And the second time I imported animation, linked it with the existing skeleton. Then I dragged the animation file into Unreal scene and got it played. The model was not perfect but it was a nice try to explore the whole work flow.
WEEK 01 – MOODBOARD & LAB DOCUMENTATION
Moodboard for Unreal Inspirations
Pinterest: https://pin.it/67rxwkom6sltry

I found different kinds of pictures for my moodboard, some are in very dark tune, some are really bright and warm. I also like some Japanese art styles which make me feel peaceful and I like their use of color. So in general, I like environments that are surreal, and comparatively huge to human beings or species living in that world. I’d like use assets with shaders instead of photo-realistic materials.
Because I took the narrative VR class last semester last semester and are doing some personal projects in Unreal, I realized it would make the characters in my work move more naturally. I used Maximo to the character animation before. It is a nice and convenient tool but it will somewhat limit what I can do, so I feel it would be great to learn motion capture and do customized animations. Meanwhile, I know a lot of huge-budget VFX films and games have been using motion capture for a long time. I’m kind of a big fan of them so I’m curious about their motion capture work flow.
Mocap Lab Documentation
The first step before calibration is to check if there is any reflective objects in the room. We can sometimes see some red dots in the screen. As Izzy said, it doesn’t matter as long as we mask them out and save the project. Then we can do the winding part and let each camera to receive more than 10,000 sample signals and then calculate and apply the result. The motive system feels user friendly to me because when you see which camera’s data is falling behind you can select the camera in the software and its light will turn to yellow as an indication. The calculation is quite fast by the way.


The next step is to set the ground offset. We use the customized maker platform to do that. The Z axis should in the same direction as the performers.


Now we can take out those rigid body markers from the locker and they can immediately be seen in motive. Select and make them rigid bodies. Renaming them would be a good idea for later use. Then we can start recording. The recording process was quite fun, four of us were doing what we want during that time. After stopping recording, it was also a good idea to rename each take in case there would be a lot different takes, so it’s easy to tell.
Next we want to stream the motion capture to Unreal. Open data streaming and a Unreal 4.19 project at the same time. We dragged an optiktrack origin into the scene first and set the IP address. We need to set the none naming convention in motive correspond with what it is in Unreal to be motive. Then we dragged an optiktrack object and a static mesh in. At first it didn’t work because we made the mesh to be the parent. Instead, the optictrack object should be the root. We also tried the add the static mesh as a component of the optictrack object. That way works as well.


Set a different number to different optictrack objects, we met problems because we didn’t realize the number starts from 1 instead of 0 which is quite uncommon in computer language. Also we forgot to hit play in motive so when we simulate in Unreal, those object didn’t move. So, always hit play no matter for recorded data or in live.
We faced a lot of problems, most of them are just small points you need to keep in mind. But it was great we met and solved them at the first place. We finally made it!
